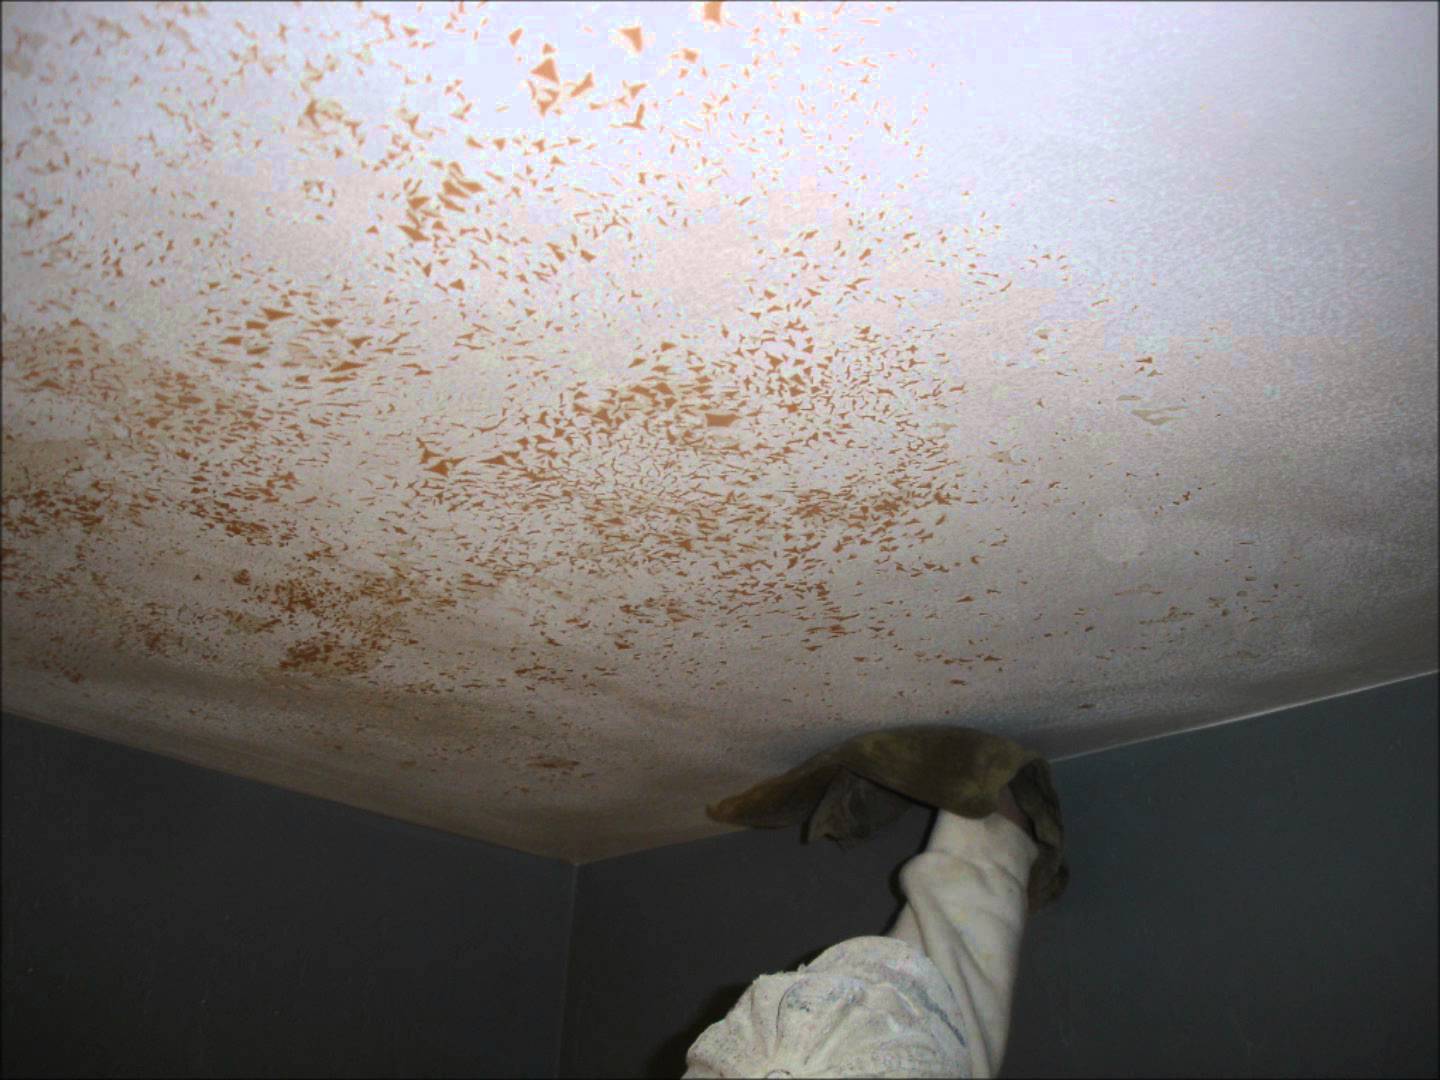
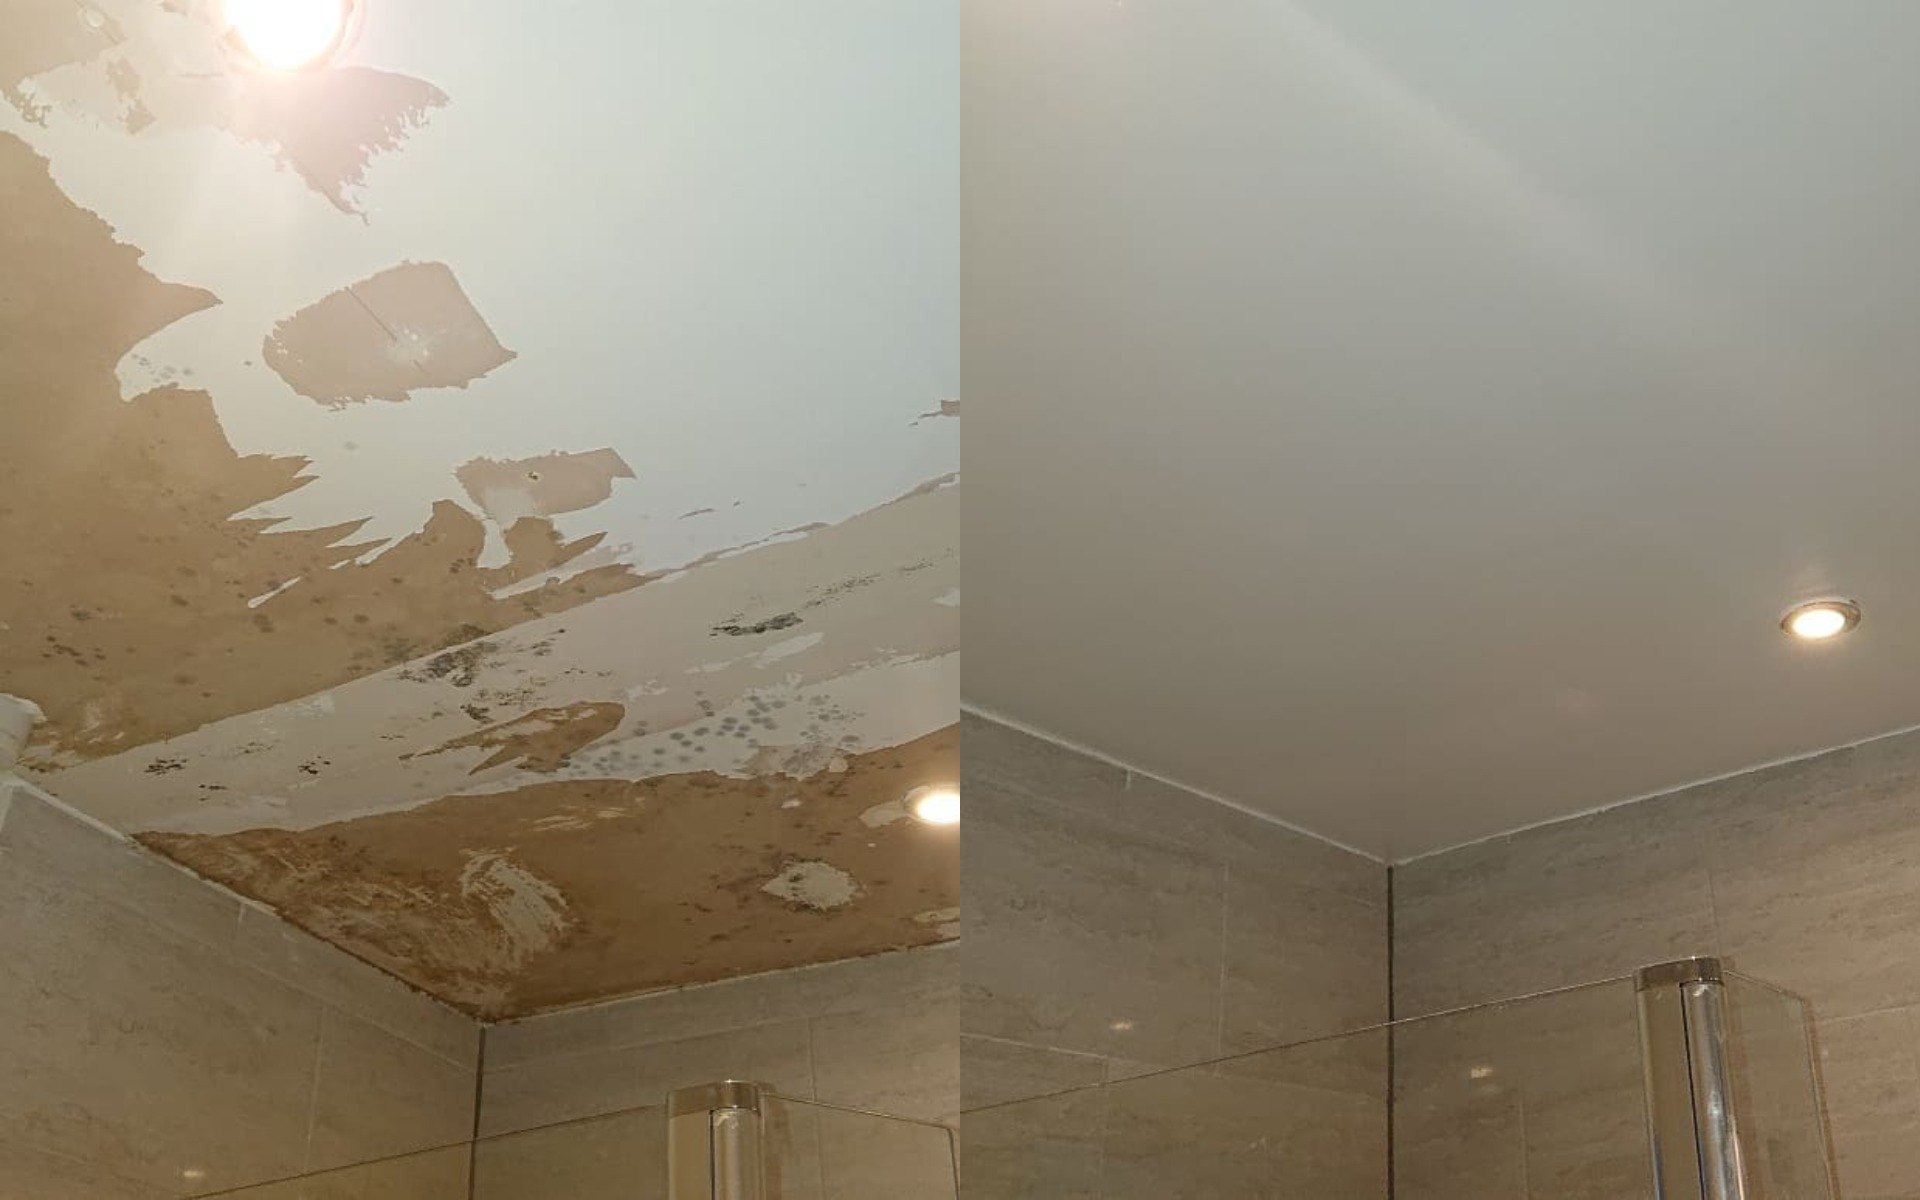
Understanding the Cause of Peeling Paint

Peeling paint on your bathroom ceiling is a common problem, and it can be frustrating to deal with. Understanding the cause of the peeling is crucial to fixing it effectively and preventing it from happening again. There are several reasons why bathroom ceiling paint might peel, each requiring a different approach to repair.
Common Causes of Peeling Paint
The most common causes of peeling paint in bathrooms are moisture, humidity, improper preparation, and poor paint quality. These factors can individually or collectively contribute to the paint’s detachment from the ceiling.
- Moisture: Water leaks or condensation can seep into the ceiling, weakening the paint’s bond to the surface and causing it to peel. This can happen from leaky pipes, plumbing fixtures, or even poor ventilation.
- Humidity: Bathrooms are naturally humid environments due to showering and bathing. High humidity levels can cause moisture to build up on the ceiling, leading to peeling paint. This is particularly common in poorly ventilated bathrooms.
- Improper Preparation: Before painting, it’s crucial to properly prepare the surface. If the ceiling is not cleaned, sanded, or primed appropriately, the paint may not adhere properly, resulting in peeling.
- Poor Paint Quality: Using low-quality paint or applying paint that’s not suitable for bathrooms can lead to peeling. Bathroom paints are designed to withstand moisture and humidity, so using regular interior paint is not recommended.
Identifying the Specific Cause
To effectively address the peeling paint, it’s essential to pinpoint the specific cause. Here are some tips to help you identify the problem:
- Inspect for Leaks: Carefully check for any visible signs of leaks, such as water stains, dripping water, or dampness on the ceiling. If you suspect a leak, it’s important to address it promptly to prevent further damage.
- Assess Ventilation: Evaluate the bathroom’s ventilation system. Adequate ventilation helps to reduce humidity levels, minimizing the risk of moisture buildup and paint peeling. Consider installing a fan or improving existing ventilation if necessary.
- Examine the Paint: Observe the peeling paint closely. If it’s peeling in large sheets, it could indicate a problem with the paint’s adhesion. If it’s peeling in small flakes, it might be due to moisture or humidity.
- Check the Surface: Examine the ceiling surface for any signs of cracks, holes, or unevenness. These imperfections can affect the paint’s adhesion and contribute to peeling.
Preparing the Ceiling for Repair: How To Fix Bathroom Ceiling Paint Peeling

Before you start painting, you need to ensure the bathroom ceiling is properly prepared. This involves removing loose paint, cleaning the surface, and patching any holes or cracks. This step is crucial for achieving a smooth and even finish.
Cleaning the Ceiling
A clean surface is essential for paint adhesion. You can start by removing any dust, cobwebs, or debris using a vacuum cleaner with a brush attachment. For stubborn stains, you can use a mild detergent solution. Make sure to rinse the ceiling thoroughly with clean water and allow it to dry completely before proceeding.
Scraping Loose Paint
Loose paint can interfere with the new paint’s adhesion. You can use a scraper to remove loose paint from the ceiling. Start by scraping gently, working in small sections. If the paint is stubborn, you can use a heat gun to soften it before scraping. Always wear safety goggles and gloves while scraping.
Sanding the Ceiling
Sanding helps create a smooth surface for painting. You can use a sanding block or an electric sander to smooth out any rough patches. Start with coarse-grit sandpaper and then switch to fine-grit sandpaper for a smooth finish. Make sure to remove all dust before painting.
Patching Holes and Cracks
Patching holes and cracks is essential for a seamless finish. You can use spackling compound or joint compound to fill in the gaps. Apply the compound with a putty knife, ensuring it is level with the ceiling. Let the compound dry completely before sanding it smooth.
Essential Tools and Materials
Here is a checklist of essential tools and materials for preparing the bathroom ceiling for repainting:
- Vacuum cleaner with a brush attachment
- Mild detergent
- Scraper
- Heat gun (optional)
- Sanding block or electric sander
- Coarse-grit sandpaper
- Fine-grit sandpaper
- Spackling compound or joint compound
- Putty knife
- Drop cloths
- Safety goggles
- Gloves
Applying the New Paint

Now that the bathroom ceiling is prepped and ready, it’s time to apply the new paint. This step is crucial for achieving a smooth, durable, and moisture-resistant finish.
Applying Primer, How to fix bathroom ceiling paint peeling
Primer acts as a bonding agent, creating a smooth surface for the paint to adhere to. This is especially important for bathroom ceilings, as the moisture and humidity can make it difficult for paint to stick.
- Choose a moisture-resistant primer: This type of primer is specifically designed for areas prone to moisture, ensuring better adhesion and preventing peeling.
- Apply a thin, even coat: Use a roller to apply the primer evenly across the entire ceiling. Avoid applying too much primer, as this can lead to drips and uneven coverage.
- Let the primer dry completely: Allow the primer to dry according to the manufacturer’s instructions before moving on to the next step.
Choosing the Right Paint
The choice of paint is crucial for a long-lasting and beautiful bathroom ceiling.
- Moisture-resistant paint: Opt for a paint specifically designed for bathrooms and high-moisture areas. This type of paint is formulated to withstand moisture and humidity, preventing peeling and mildew growth.
- Acrylic latex paint: This type of paint is a popular choice for bathroom ceilings due to its durability, moisture resistance, and easy application. It dries quickly and emits low VOCs, making it a good choice for indoor spaces.
- Semi-gloss or satin finish: These finishes are easier to clean and more resistant to moisture than flat finishes. They also offer a slight sheen, adding a touch of elegance to the bathroom.
Applying the Paint
Applying the paint correctly is essential for achieving a smooth, even finish.
- Use a high-quality roller: A high-quality roller with a nap length suitable for the texture of the ceiling will ensure smooth and even coverage.
- Apply multiple thin coats: Applying multiple thin coats is better than one thick coat. This allows the paint to dry evenly and prevents drips and runs.
- Use a paint brush for edges and corners: Use a brush to paint around the edges and corners of the ceiling, ensuring a clean and precise finish.
- Let each coat dry completely: Allow each coat of paint to dry completely before applying the next coat. This ensures proper adhesion and prevents the paint from becoming sticky.
Painting Techniques
- Roll in sections: Divide the ceiling into sections and roll each section individually, working from one side to the other.
- Overlap the strokes: Overlap each stroke by about 50% to ensure even coverage and prevent streaks.
- Use a “W” pattern: Roll the paint in a “W” pattern to ensure even coverage and prevent streaks.
